Level 1 Level 2 Level 3 Information More Angles
Instructions
This version of Logo is more powerful than the Level 1 version.
ht (hide turtle)
st (show turtle)
setpos (set position)
Example: setpos[ 0 0 ]
replaces CT (Centre turtle).
seth (set heading)
Example: seth 45
rotates the turtle to a bearing of 045o.
setpencolor
Example: setpencolor "red
replaces pc (pen colour)
arc angle radius
Without moving the turtle, draws an arc centered on the turtle, starting at the turtle's heading.
Example: arc 180 100
fill
Example:
setpencolor "yellow fill will flood fill the turtle's current position with yellow.
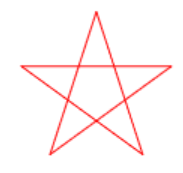
Challenge 1
Use the repeat command to draw a red pentagram:
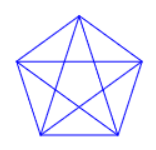
Challenge 2
Create this blue diagram of a pentagram inside a pentagon.
Include two repeat commands in your code.
Challenge 3
This envelope diagram can be drawn without going over any line twice.
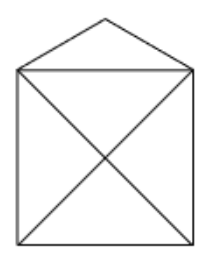
Practise using bearings!
Use seth for this challenge (do not use rt or lt)
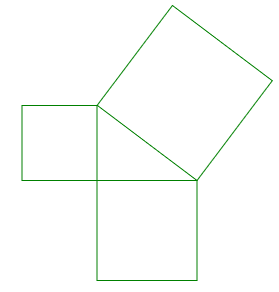
Challenge 4
This diagram consists of a right-angled triangle and three squares.
The sides of the bottom square are of length 100 and the sides of the square on the left are of length 75. Calculate the other lengths and angles or make a scale drawing before programming.
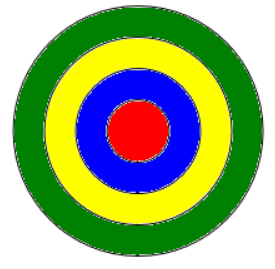
Challenge 5
Your target is to draw this target with the aid of the arc and fill commands.
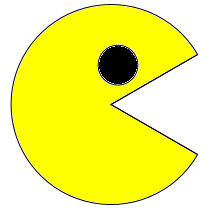
Challenge 6
The mouth is open making a 60o angle.
Challenge 7
Construct a pie chart showing how you spend your time on a school day.
Start by calculating the number of hours you:
:: sleep;
:: spend at school;
:: eat;
:: exercise;
etc.
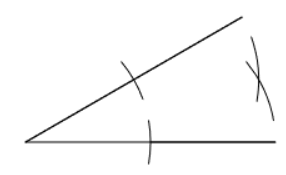
Challenge 8
Draw a diagram to show the construction marks made when bisecting an angle with a pair of compasses.
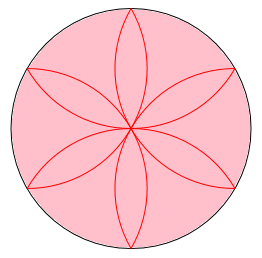
Challenge 9
Time for a flower
Challenge 10
Copy and paste the following code into logo:
cs pu setpos [0 -150] repeat 3 [pd seth 300 arc 60 100 fd 100 pu bk 100 seth 0 fd 100] pd
This will produce the left side of a symmetric diagram. Complete the diagram by drawing the right side.
Run
Stop
Clear
↗
↙

 It is recommended that you do Level 1 before starting on Level 2 or Level 3.

David Eisenstat, US
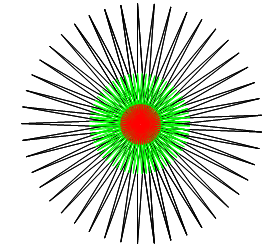
See how complex designs can be produced with only a small amount of code. This competition winner is called Dahlia:
repeat 8 [rt 45 repeat 6 [repeat 90 [fd 2 rt 2] rt 90]]
The 6 can be replaced with 1 to 7 for other flowers.